20 February 2025
Are you looking for a fresh and engaging way to get your students involved in your lessons? Have you ever heard about learning stations but aren't quite sure how to implement them effectively? Well, you're in the right place! Learning stations are an excellent way to get students up and moving while fostering a more hands-on and student-centered approach to learning. Let's dive into what learning stations are, why they are beneficial, and how to create effective learning stations in your classroom.
What Are Learning Stations?
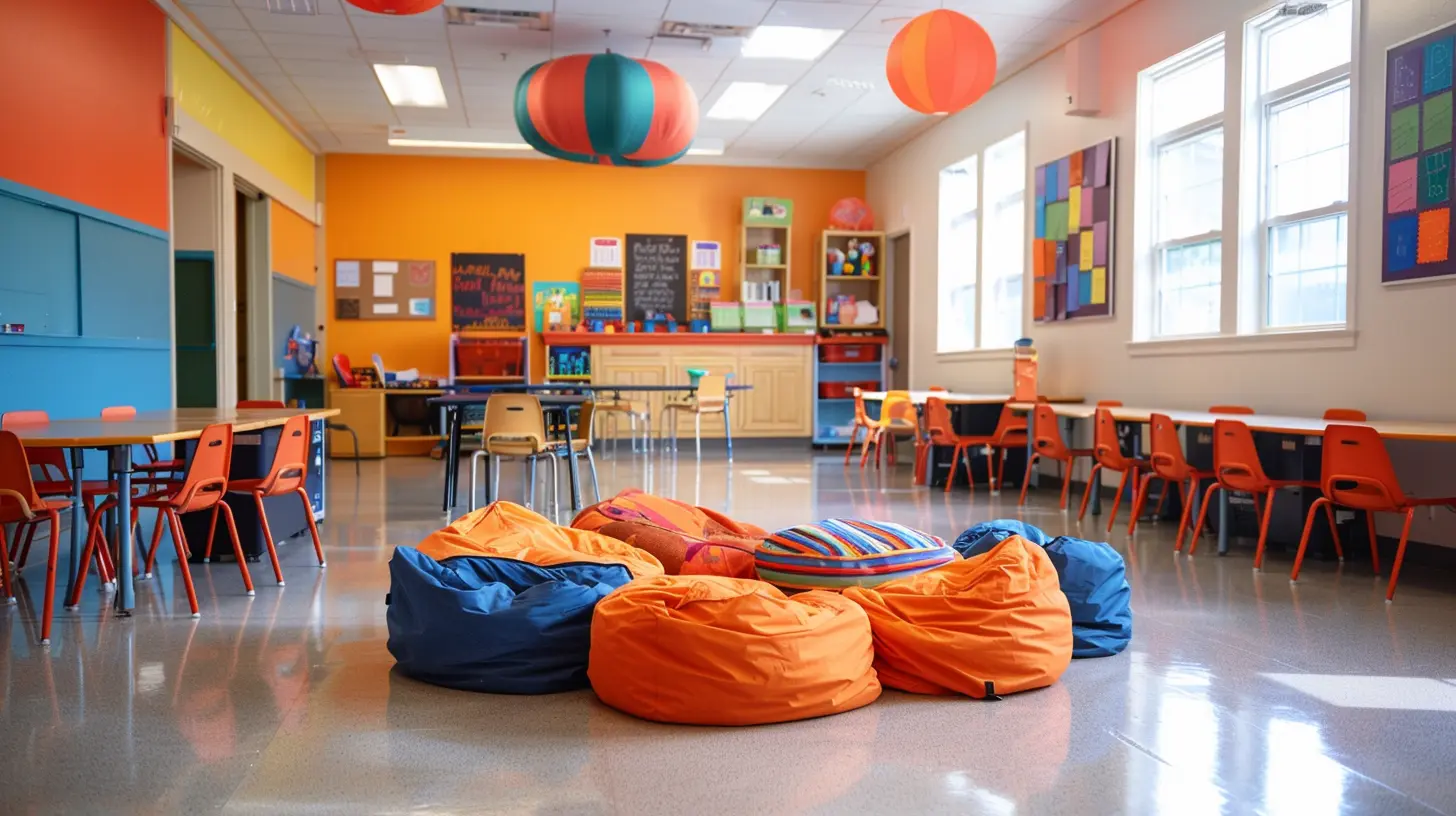
Learning stations are designated areas or "stations" within the classroom where students engage in specific activities. Each station focuses on different aspects of the lesson or topic you're teaching. Instead of sitting at their desks, students rotate through these stations, working on tasks individually, in pairs, or in small groups.Think of them as mini-classrooms within your classroom. Each station provides a different learning experience, allowing students to explore the lesson content in various ways. For example, one station could focus on reading comprehension, while another could involve hands-on activities or technology-based learning.
Why Use Learning Stations?
Well, let’s be honest—students don’t always learn best by listening to lectures or reading from textbooks. Learning stations provide multiple benefits:1. Engagement – When students are actively engaged, they’re more likely to retain information. Learning stations allow students to interact with the material in different ways, making learning more dynamic.
2. Differentiation – Every student learns differently. Some are visual learners, others are auditory, and some are kinesthetic. By offering a variety of activities, stations cater to different learning styles.
3. Student Autonomy – Learning stations encourage students to take ownership of their learning. When they move from station to station, they feel more in control, which can boost motivation.
4. Collaboration – Group work at stations fosters communication and teamwork. Students learn from one another, and sometimes a peer explanation is more effective than a teacher’s!
5. Classroom Management – Believe it or not, stations can actually help with classroom management. When students are engrossed in activities, there’s less room for disruptions.
Now, you're probably wondering, "How do I even begin to set up learning stations?" Don’t worry, we’ve got you covered!
Step 1: Define Your Learning Goals
Before you start arranging desks and printing out worksheets, take a step back and think about what you want your students to learn. What are the key concepts or skills they should take away from the lesson? This is crucial because your stations should directly align with these objectives.For example, if you're teaching a math lesson on fractions, your stations could include:
- A hands-on station where students use manipulatives to explore fractions.
- A technology station where they play an interactive game that reinforces fraction concepts.
- A worksheet station for practicing fraction problems.
By tailoring each station to your particular goals, you'll ensure that students are working toward a common objective, even though they’re doing different activities.
Step 2: Plan the Stations
Once you've nailed down the learning objectives, it's time to plan your stations. Here’s where things get fun and creative! You can include different types of activities to engage various learning styles.Types of Stations to Consider:
1. Hands-On Station – This is where students use manipulatives or physical objects to explore a concept. For example, in a science classroom, students might conduct an experiment or build a model.2. Technology Station – Why not leverage the tech tools you have? Students could complete an interactive task on a computer or tablet. There are tons of educational apps and websites that can reinforce your lesson.
3. Reading/Comprehension Station – This could involve reading a passage and answering questions, or diving into a textbook to find specific information. It's an excellent way to build critical thinking and comprehension skills.
4. Writing Station – Have students reflect on what they’ve learned or complete a writing assignment. This could be a creative writing task or a more structured response to a prompt.
5. Collaboration Station – Group work is an excellent way for students to learn from each other. At this station, they could work together on a project, solve a problem, or discuss a topic.
6. Teacher Station – You can’t forget about yourself! A teacher-led station allows for more direct, personalized instruction. Use this time to work with small groups or individual students who need extra support.
Remember, not every station needs to be "high-tech" or involve crazy amounts of preparation. Sometimes, the simplest activities are the most effective.
Step 3: Organize the Flow
Once your stations are planned, you need to think about how your students will move through them. You don’t want chaos, right? A little structure goes a long way, especially when multiple activities are happening simultaneously.Tips for Organizing the Flow:
- Set a Timer – Have a set amount of time for each station. Depending on the complexity of the task, this could be anywhere from 10 to 20 minutes. Use a visible timer so students can keep track of their time.- Create a Rotation System – Make a chart or use a visual aid to show students where they should go next. You can rotate groups in a clockwise fashion, or have them move in a pre-determined order.
- Assign Group Roles – If students are working in groups, assign roles like "timekeeper," "recorder," or "task manager." This helps to keep everyone on track and accountable.
- Limit Station Numbers – Ideally, you want around 3-5 students per station. More than that, and it might get too crowded or chaotic.
Step 4: Provide Clear Instructions
Here’s a tip that will save you from answering a million questions during the activity: provide crystal-clear instructions at each station. Write them down on a poster or a handout, and make sure they’re easy to understand.Key Elements to Include in Instructions:
- Objective – What are students supposed to learn or accomplish at this station?- Steps – Break down the task into simple, manageable steps.
- Materials – List any tools or resources students will need.
You could even record a short video explaining each station and post it on a class website or shared drive. That way, students can refer back to it if they get stuck.
Step 5: Monitor and Support
Once the stations are up and running, you’ll want to circulate around the room to monitor progress. However, resist the urge to hover! Let students work independently, but be available to answer questions or provide guidance when necessary.Remember, your role is a facilitator in this setup. You’re there to support and guide, not to take over.
Step 6: Reflect and Assess
After the station activity, it's crucial to bring the class back together for some reflection. This could be a whole-class discussion, a quick exit ticket, or a written reflection. Ask students what they learned, what challenges they faced, and what they enjoyed about the stations.This not only helps students consolidate their learning, but it also gives you valuable feedback on how the stations worked. Did students meet your learning objectives? Were the tasks too challenging or too easy? Use this information to tweak and improve your stations for next time.
Assessment Strategies
- Informal Observation – As you walk around during the station activity, take note of students' engagement and understanding.- Station Work – Collect the work completed at each station, whether it’s a worksheet, a report, or a group project.
- Self-Assessment – Have students assess their own performance. Did they feel successful? Did they understand the material?
Step 7: Keep It Fresh!
Once you've got the hang of learning stations, don’t let them get stale. Switch up the activities regularly to keep students engaged. You can also involve students in the planning process—ask them what types of activities they’d like to see at the stations.Pro Tip: Use Themes or Challenges
You could create themed stations for holidays, seasons, or special events. Or, implement a challenge-based approach where students have to solve a mystery or complete a mission by the end of the rotations. This adds an extra layer of excitement and motivation.Final Thoughts
Learning stations can be a game-changer in your classroom. They promote active learning, cater to diverse learners, and encourage collaboration—all while keeping students engaged and excited. With a little upfront planning and some creativity, you can create highly effective learning stations that not only meet your educational goals but also make learning fun!So, are you ready to transform your classroom into a dynamic learning environment? Give learning stations a try, and watch your students thrive!


Darius McLean
Creating effective learning stations requires careful planning and adaptability. Focus on diverse activities that cater to different learning styles, ensure clear instructions, and regularly assess engagement. With flexibility and creativity, your stations can significantly enhance student participation and understanding.
April 3, 2025 at 4:24 AM